Page History: Book a stand
Compare Page Revisions
Page Revision: 15/09/2011 04:47 PM
1) Click on Stands to open up Stands Manager and enter details for the stand.
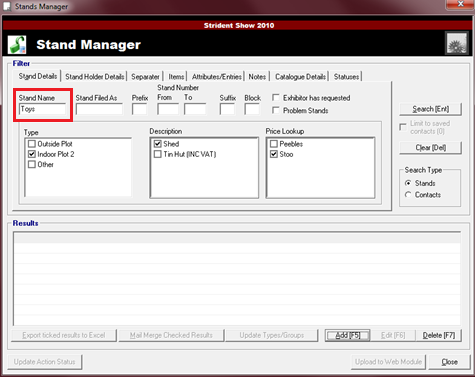
2) Click on Add to add a new Stand or Find to select an existing contact by typing in first or last name and selecting the search button.
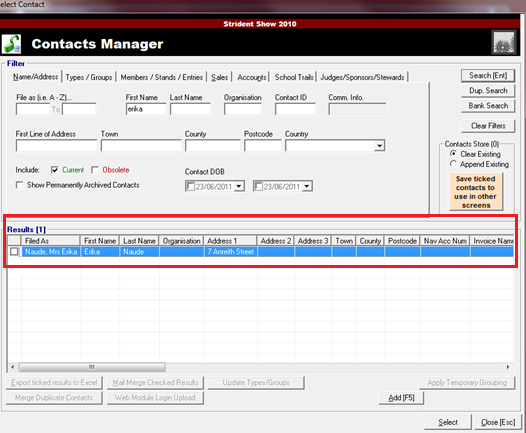
3) Select / highlight the Contact name for your Stand and click on Select.
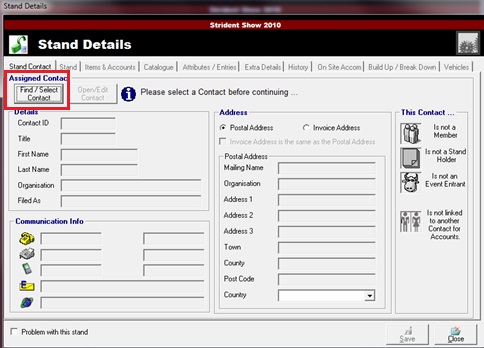
4) This will bring you back to Stand Manager > Click on Stand Details to enter the Stand details.
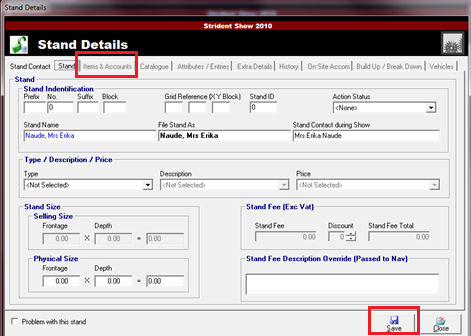
5) Save Stand Details
6) Select Items and Accounts in the top toolbar > Select Stands > Post Invoice / Receipt.
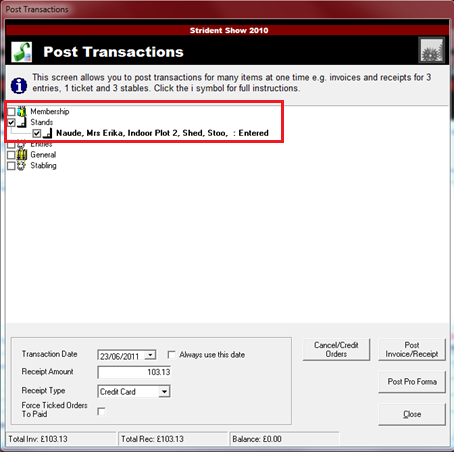
7) Select Stands, Transaction Date, Receipt Amount, Receipt Type and post invoice / receipt. Close screen when you are done.