Page History: Add an entry
Compare Page Revisions
Page Revision: 25/08/2011 11:38 AM
1) Select Entries to open up Entries Manager and select the header and section details.
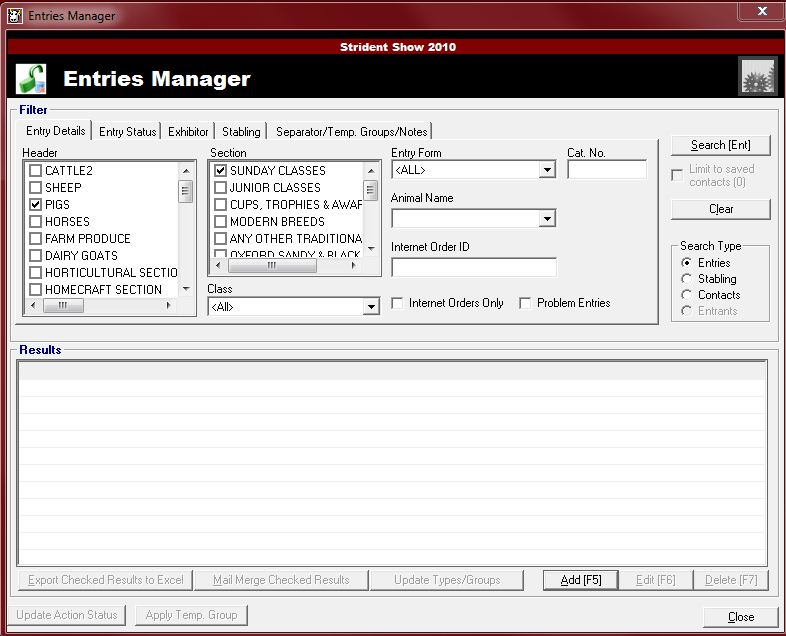
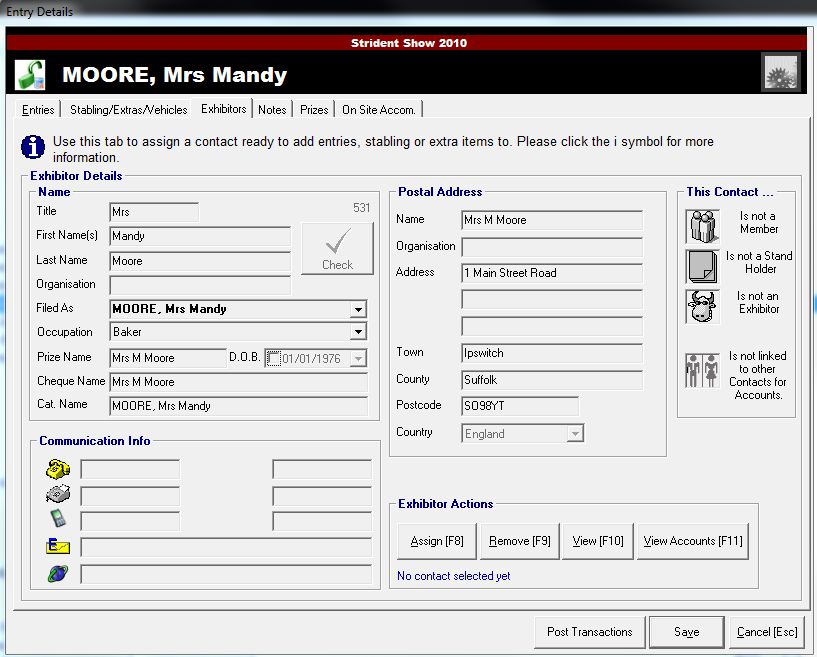
2) Click Add to add an entry and add new entry details or search for an existing entry.
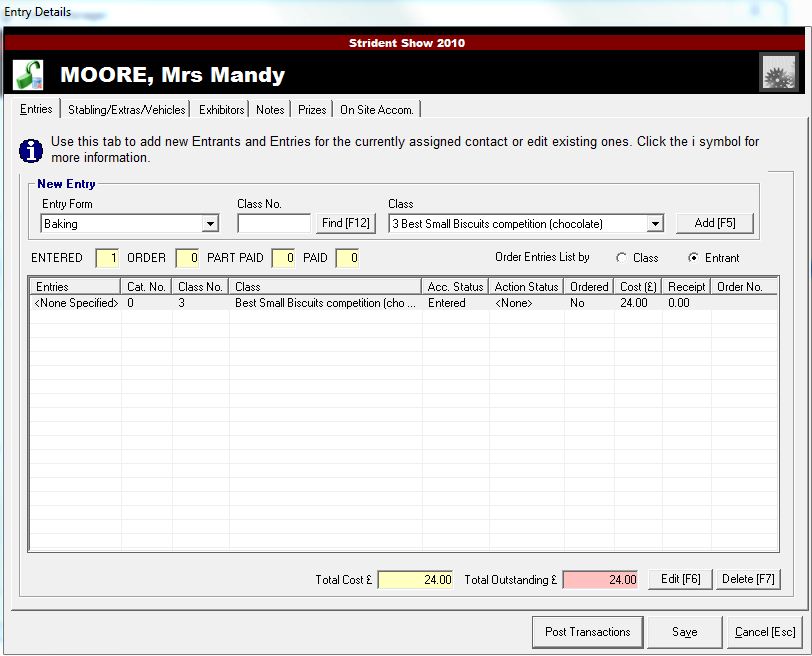
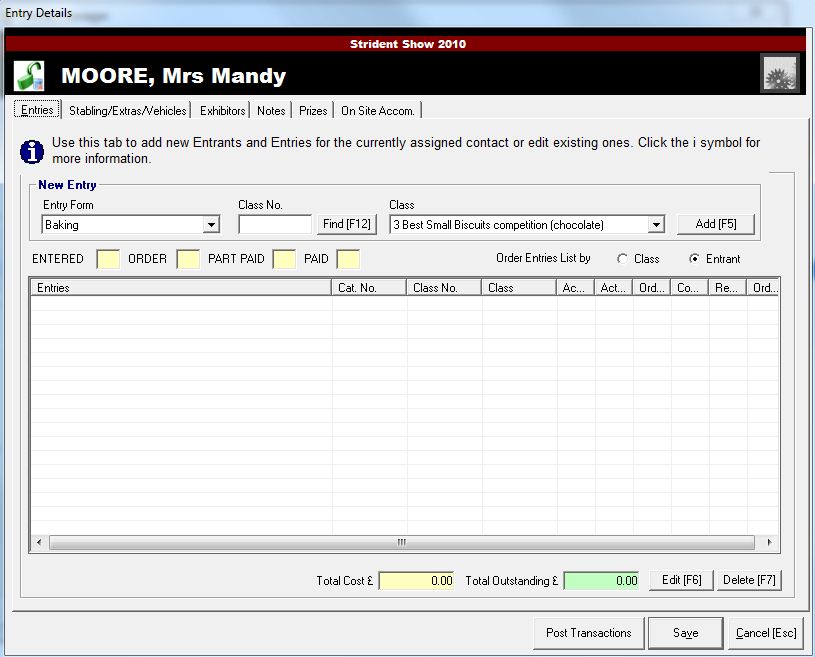
3) Select the entries tab in the top toolbar and make your Entry form and Class selection in the dropdown list.
4) Select Add
5) Enter your Details and Status Details for your entrant and Save.
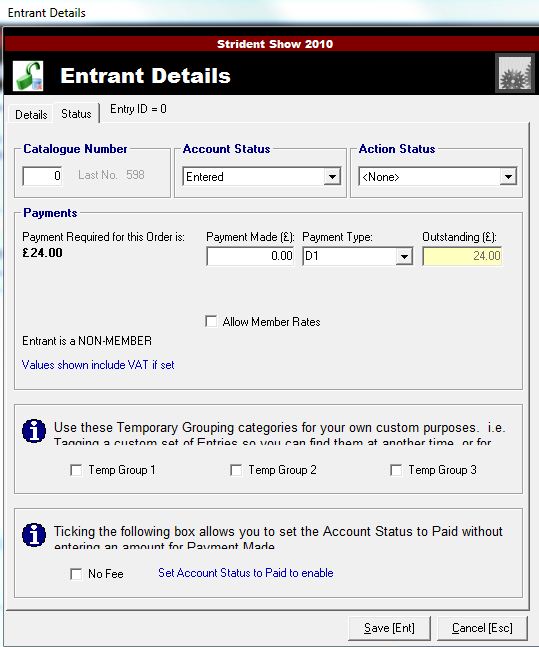
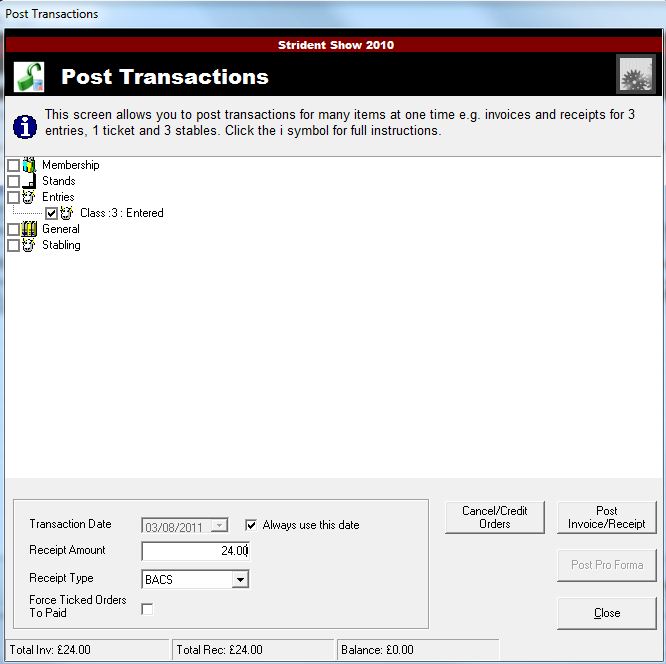
6) Click on Post Transactions to make the payment.