Page History: Add an entry
Compare Page Revisions
Page Revision: 19/07/2013 03:08 PM
1) Select the Entries icon in the top bar and a screen called "Entries Manager" will appear. Select the Entry Details tab at the left of the top toolbar and fill out the sections.
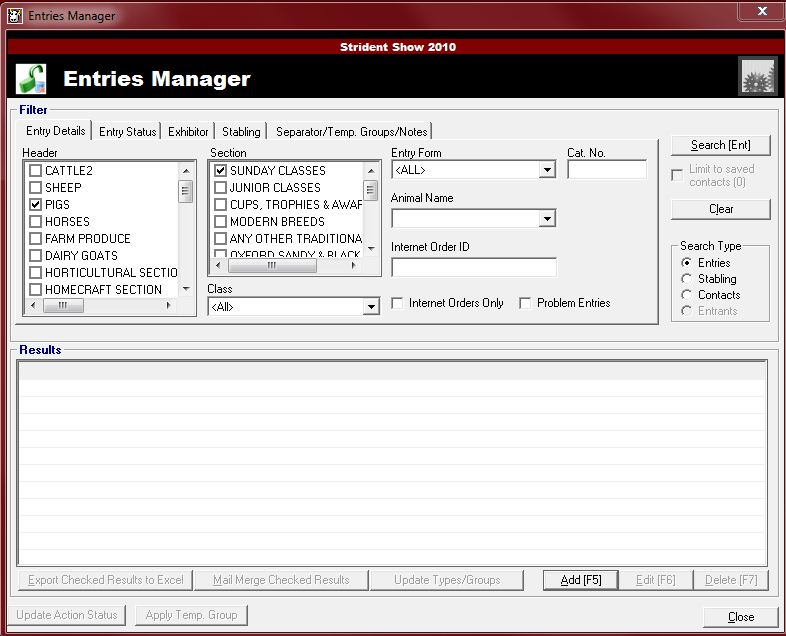
2) Click the Add F5 tab at the bottom of the page and you will be presented with a new screen:
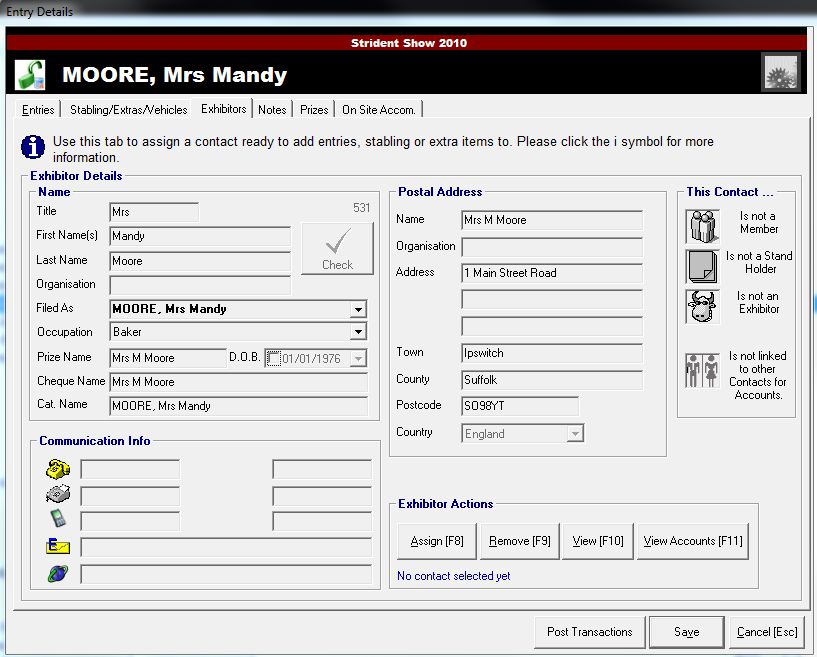
3) Here you can add new entry details- fill in the Exhibitor details, Communication Info & Postal Address. Or to search for an existing contact fill in a field of the exhibitor details and press the check button, taking you to a new screen showing the results.
4) Select the Entries tab in the top toolbar which will display a new page:
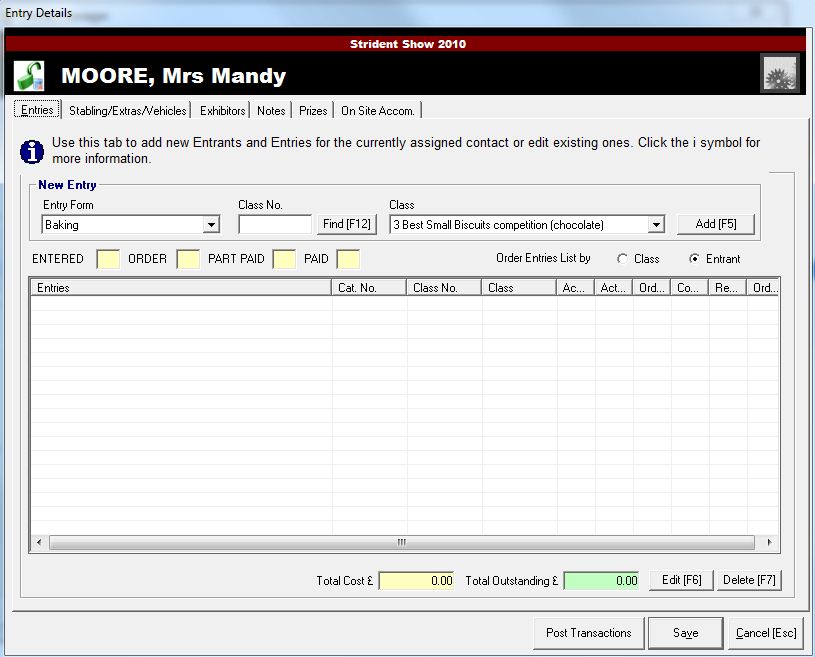
5) Under New Entry select the Entry Form type required in the drop down bar. Then put the Class no. and select the class in the drop down bar.
6) Press the Add
F5 button. You will now be presented with a new screen called Entrant Details:
7) Fill out the fields under Entrant Details
8) Select the Status tab in the toolbar at the top next to details. Fill out the Status Details for your entrant (Catalogue Number, Account status, Action status, Payments, etc) then press save.
9) You should now be back at the former page. Click on Post Transactions at the bottom to make the payment.
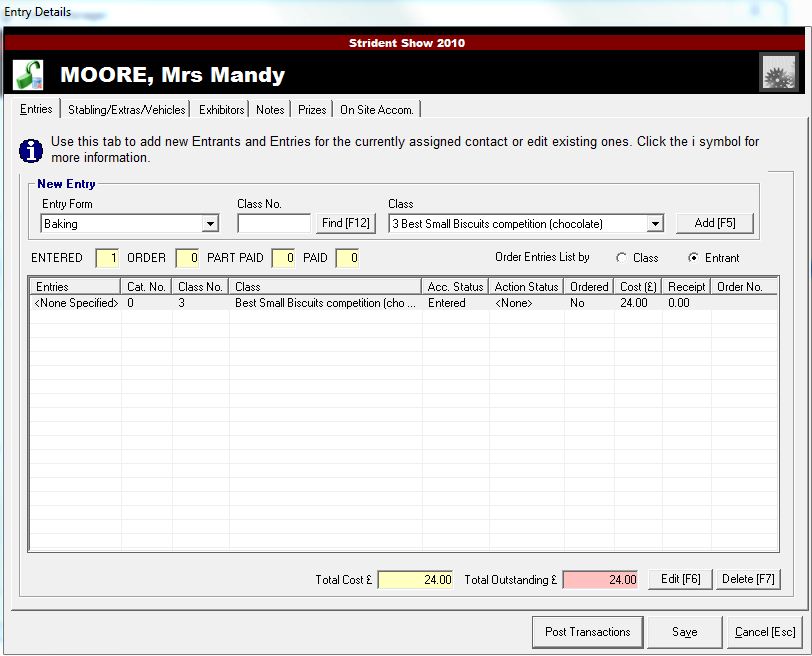
10) You will be presented with another new screen allowing you to post multiple transactions at a time:
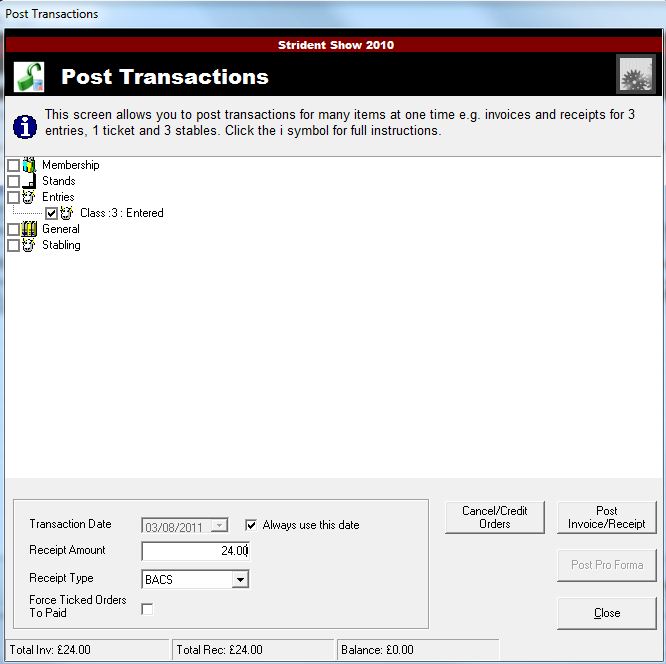
11) Input the Transaction date, Receipt amount & type. Then click the Post invoice/receipt button.
(Note: click the i symbol for full instructions)
